> ## Documentation Index
> Fetch the complete documentation index at: https://bytebeam.io/docs/llms.txt
> Use this file to discover all available pages before exploring further.
# Connecting to Bytebeam cloud
Download the device TLS certificates from platform and use them to authorise with server.
# Download the device auth json file
We use TLS Mutual authentication to connect a device to the cloud. Mutual authentication means that both the server and the client authenticate each other before the connection is setup. Three files are required for this authentication to happen correctly
1. CA Certificate: This file is used by the device to authenticate the server certificate
2. Device Certificate: This file is used by the device to authenticate itself to the server
3. Device Private Key: This file is also used by the device to authenticate itself to the server.
Bytebeam provides a single json file that contains the contents of these three files. You can download the json file by [Provisioning a Device](/platform-guide/device-management/provisioning-a-device). This should give you a file like the below:
```json theme={null}
{
"project_id": "demo",
"broker": "cloud.bytebeam.io",
"port": 8883,
"device_id": "2",
"authentication": {
"ca_certificate": "-----BEGIN CERTIFICATE-----\nMIIFszCCA5ugAwIBAgIUEwLV4kBMkkaGFmddtLu7sms+/BMwDQYJKoZIhvcNAQEL\nBQAwYTELMAkGA1UEBhMCVE4xNzA1BgNVBAoMLkFnZW5jZSBOYXRpb25hbGUgZGUg\n<.. trimmed ..>u/2QeItBcy6vVR/cO5JyboTT0GFMDcx2V+IthSIVNg3rAZ3r2OvEhJn7wAzMMujj\nd9qDRIueVSjAi1jTkD5OGwDxFa2DK5o=\n-----END CERTIFICATE-----",
"device_certificate": "-----BEGIN CERTIFICATE-----\nMIIEozCCBEmgAwIBAgIQTij3hrZsGjuULNLEDrdCpTAKBggqhkjOPQQDAjCBjzEL\nMAkGA1UEBhMCR0IxGzAZBgNVBAgTEkdyZWF0ZXIgTWFuY2hlc3RlcjEQMA4GA1UE\n<.. trimmed ..>bTAKBggqhkjOPQQDAgNIADBFAiEAru2McPr0eNwcWNuDEY0a/rGzXRfRrm+6XfZe\nSzhYZewCIBq4TUEBCgapv7xvAtRKdVdi/b4m36Uyej1ggyJsiesA\n-----END CERTIFICATE-----",
"device_private_key": "-----BEGIN RSA PRIVATE KEY-----\nMIIEvgIBADANBgkqhkiG9w0BAQEFAASCBKgwggSkAgEAAoIBAQDNGprSdj+74i9/\n9lU+3d2XM4QIONUDKmqIuHRDxREGYcJg36kKeZc3S6iUH50oUSAYUyBSd8SyRmfa\n<.. trimmed ..>w85urMfh9z3Dq5xrNZJD+8TEDM/7Dz8meQj4n+oOIl8iHlKN9e7CTK4O3smS5/cN\n337I+FudGb8nO+Kv6PtsA6kD\n-----END RSA PRIVATE KEY-----"
}
}
```
**Note:** The certificates and keys in the above file and rest of this guide are just examples, you have to use the json file downloaded from the provisioning guide above.
Let us extract the `ca_certificate`, `device_certificate` and `device_private_key` into three files. We will connect to Bytebeam cloud using these files and MQTTX. Note the "\n" characters in the strings. When extracting these into individual files we need to replace them with newlines. Here is how the three files would look like
```none CA Certificate theme={null}
-----BEGIN CERTIFICATE-----
MIIFszCCA5ugAwIBAgIUEwLV4kBMkkaGFmddtLu7sms+/BMwDQYJKoZIhvcNAQEL
BQAwYTELMAkGA1UEBhMCVE4xNzA1BgNVBAoMLkFnZW5jZSBOYXRpb25hbGUgZGUg
Q2VydGlmaWNhdGlvbiBFbGVjdHJvbmlxdWUxGTAXBgNVBAMMEFR1blRydXN0IFJv
<...>
nV2UqL1g52KAdoGDDIzMMEZJ4gzSqK/rYXHv5yJiqfdcZGyfFoxnNidF9Ql7v/YQ
CvGwjVRDjAS6oz/v4jXH+XTgbzRB0L9zZVcg+ZtnemZoJE6AZb0QmQZZ8mWvuMZH
u/2QeItBcy6vVR/cO5JyboTT0GFMDcx2V+IthSIVNg3rAZ3r2OvEhJn7wAzMMujj
d9qDRIueVSjAi1jTkD5OGwDxFa2DK5o=
-----END CERTIFICATE-----
```
```none Device Certificate theme={null}
-----BEGIN CERTIFICATE-----
MIIEozCCBEmgAwIBAgIQTij3hrZsGjuULNLEDrdCpTAKBggqhkjOPQQDAjCBjzEL
MAkGA1UEBhMCR0IxGzAZBgNVBAgTEkdyZWF0ZXIgTWFuY2hlc3RlcjEQMA4GA1UE
BxMHU2FsZm9yZDEYMBYGA1UEChMPU2VjdGlnbyBMaW1pdGVkMTcwNQYDVQQDEy5T
<...>
uLBsCE8ktCUfvsiRT7zWSqeXliA09TUCIQDcB7Xn97aEDMBKXIbdm5KZ9GjvRyoF
9skD5/4GneoMWzAlBgNVHREEHjAcggpnaXRodWIuY29tgg53d3cuZ2l0aHViLmNv
bTAKBggqhkjOPQQDAgNIADBFAiEAru2McPr0eNwcWNuDEY0a/rGzXRfRrm+6XfZe
SzhYZewCIBq4TUEBCgapv7xvAtRKdVdi/b4m36Uyej1ggyJsiesA
-----END CERTIFICATE-----
```
```none Device Key theme={null}
-----BEGIN RSA PRIVATE KEY-----
MIIEvgIBADANBgkqhkiG9w0BAQEFAASCBKgwggSkAgEAAoIBAQDNGprSdj+74i9/
9lU+3d2XM4QIONUDKmqIuHRDxREGYcJg36kKeZc3S6iUH50oUSAYUyBSd8SyRmfa
shwTW0P2WA9kIccXbDlpWlbnRi7P/PrJ1pniDtgnJHJrhtvduPecyoS037nuYYRw
<...>
fyoQDuPjTuMBYKn0aj9JWfD4ohFRImcH1I3XcVkr0QKBgATjHK1sKXPNNnTD1MbL
LJxhy5JmqY1pxwnO+XLEDMSNx3omrk7C2KmFUk2lg2NZM/2ZVnLmPvKKhV88df3C
w85urMfh9z3Dq5xrNZJD+8TEDM/7Dz8meQj4n+oOIl8iHlKN9e7CTK4O3smS5/cN
337I+FudGb8nO+Kv6PtsA6kD
-----END RSA PRIVATE KEY-----
```
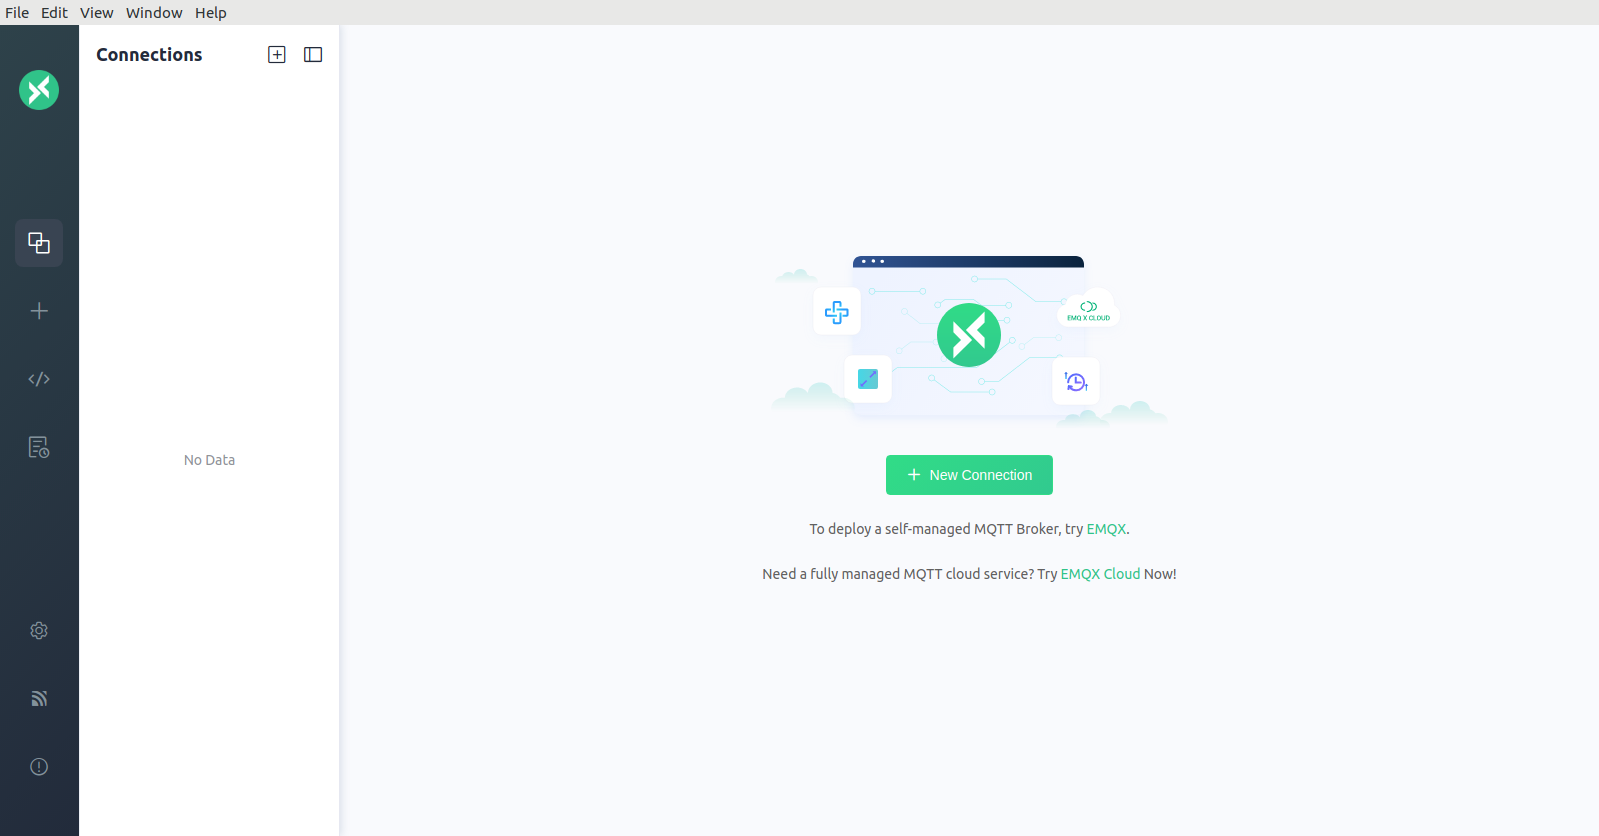
# Connect using MQTTX
Now open MQTTX and click on `+ New Connection` to create a new connection:
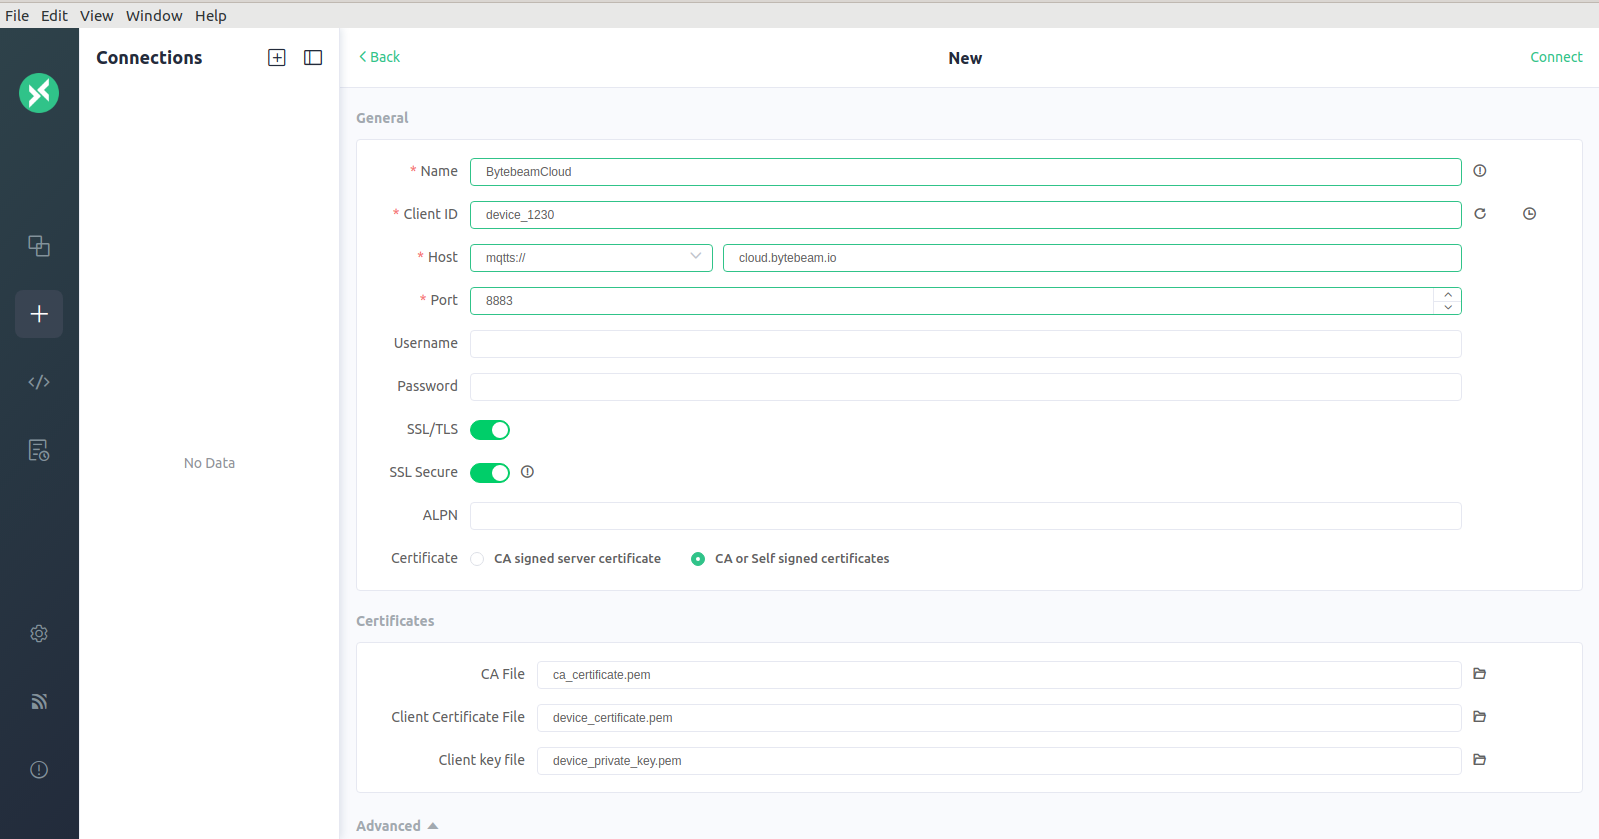
 Fill in the Name, Client ID, Host, Port as shown below. For the certificate field select "CA or self signed certificates" and upload the files we have extracted above.
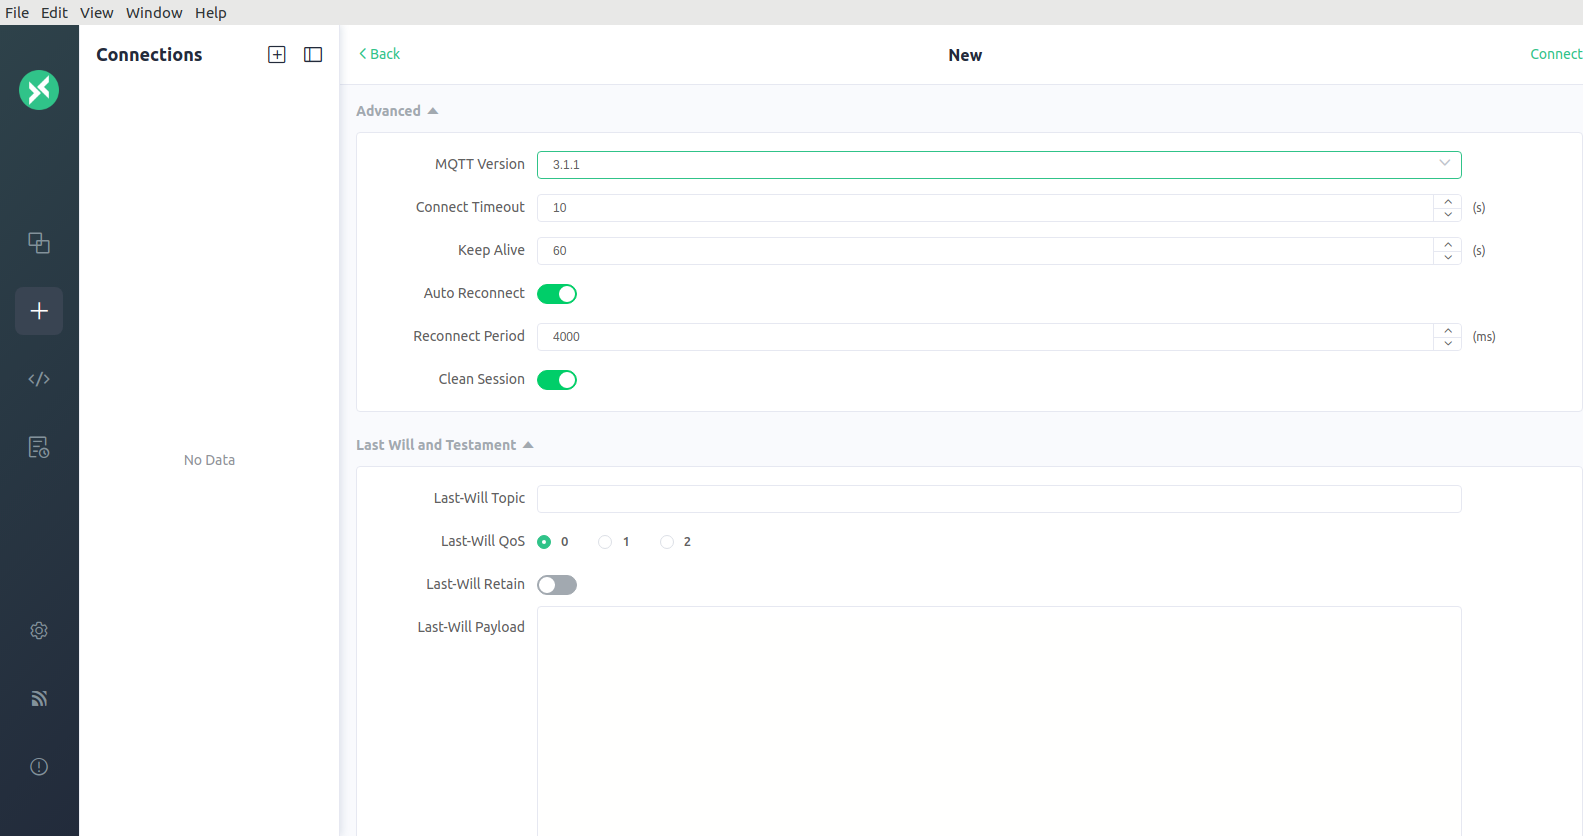
 Select MQTT 3.1.1 as the protocol version in the advanced settings:
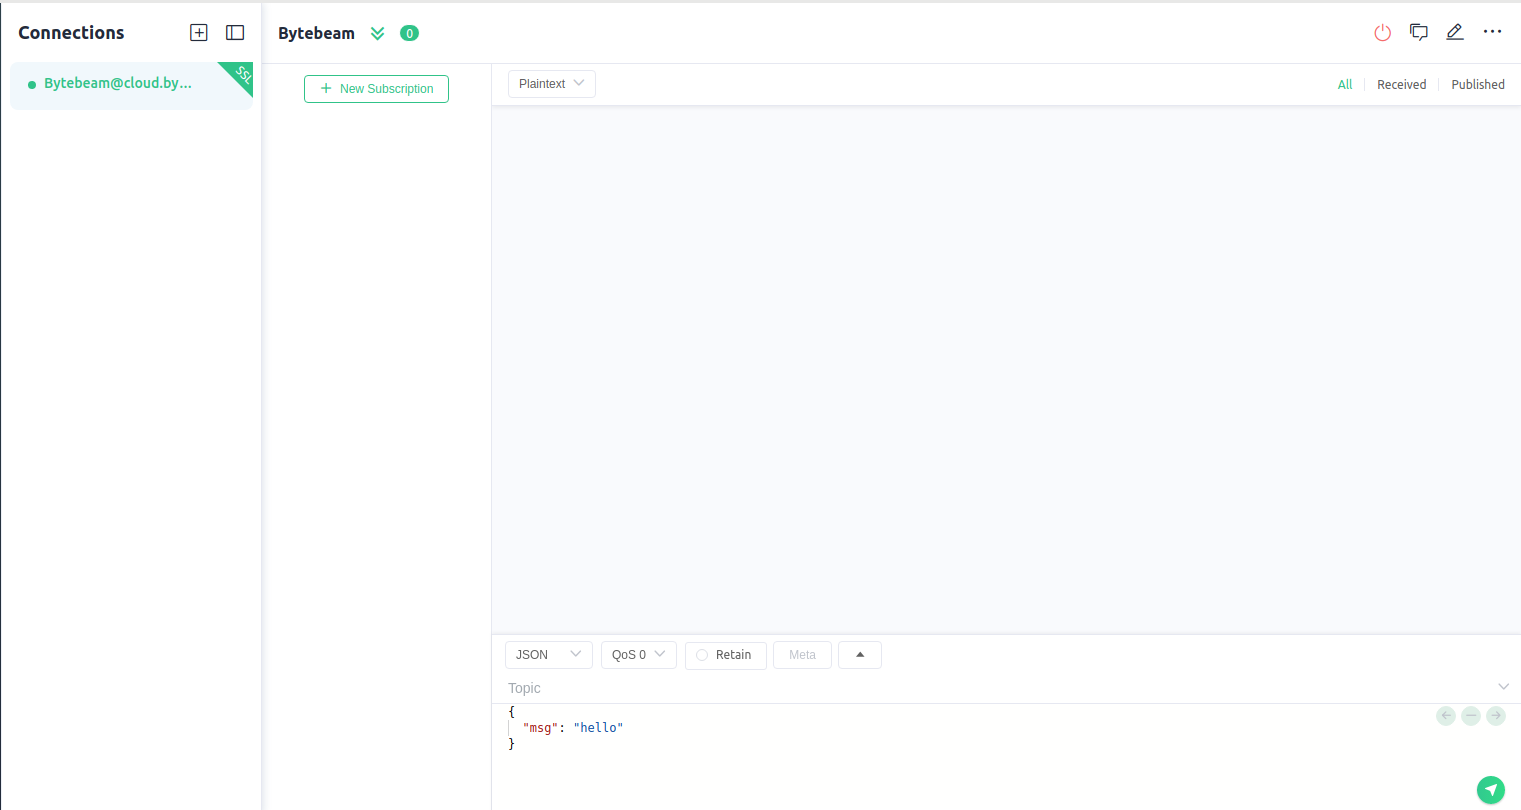
 Click on the Connect button on the top right and you should see a successful connection.
 Any errors need to be fixed before proceeding further with the guide.
# Building this into your SDK
Now that we have understood how to connect to bytebeam you can implement this programatically in your client. You can follow the below steps:
1. The first step towards building a client is figuring out how to implement MQTT. mqtt.org has a [list of client libraries for various operating systems and langauges.](https://mqtt.org/software/) If you are using a GSM modem in AT command mode it is possible that your modem comes built in with MQTT commands as well.
2. Note that bytebeam expects each device to present a unique MQTT client id. e.g. you can construct the client id as "client-\-\".
3. Once you have figured out an MQTT implementation, you can write code to connect using the certificates and private key downloaded from cloud. Note that we support only TLS 1.2 and above. Most modern systems support this version.
4. Make sure to handle disconnections and reconnect as required.
Any errors need to be fixed before proceeding further with the guide.
# Building this into your SDK
Now that we have understood how to connect to bytebeam you can implement this programatically in your client. You can follow the below steps:
1. The first step towards building a client is figuring out how to implement MQTT. mqtt.org has a [list of client libraries for various operating systems and langauges.](https://mqtt.org/software/) If you are using a GSM modem in AT command mode it is possible that your modem comes built in with MQTT commands as well.
2. Note that bytebeam expects each device to present a unique MQTT client id. e.g. you can construct the client id as "client-\-\".
3. Once you have figured out an MQTT implementation, you can write code to connect using the certificates and private key downloaded from cloud. Note that we support only TLS 1.2 and above. Most modern systems support this version.
4. Make sure to handle disconnections and reconnect as required.